

Have fun making an easy, fringed, rag quilt from Blue Sheep Boutique.
Save yourself hours of cutting and tired wrists by ordering a pre-fringed rag quilt kit. The fabric edges are precision cut using a custom die designed with the ideal width and length of fringe.
Fun story: after my husband helped me snip the edges of the pink and green turtle quilt I made for our soon-to-be first grandchild, he ordered a die cutting machine the very next day! He said he'd never snip a quilt by hand, and I shouldn't either. Yes, that is the quilt that started it all. Blue Sheep Boutique was born!
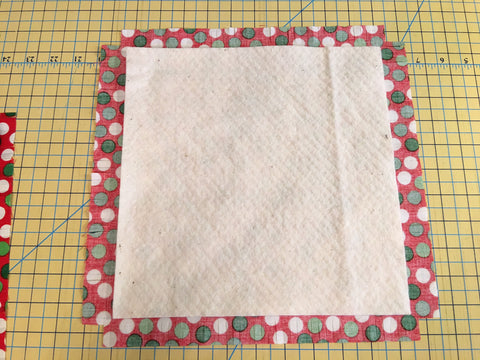
- Place a piece of batting between the two wrong sides of the fabric. (Note: Do not pre-wash your pre-fringed rag quilt squares.) The batting will be approximately 1 inch smaller, on all 4 sides, than the pre-fringed fabric.
- Sew an "X" from corner to corner to form rag quilt sandwiches. Before sewing the "X" I like to organize my fabrics by color, to reduce the amount of time switching out bobbin and thread. I will pick a blue thread and sew all the blue rag quilt sandwiches. Then I will select a green thread and sew all the green rag quilt sandwiches together, and so on for all the colors in my rag quilt. You can select a dark or light thread, to make the "X" standout. Or you can select a medium thread so the "X" blends in. Have fun playing with the colors.
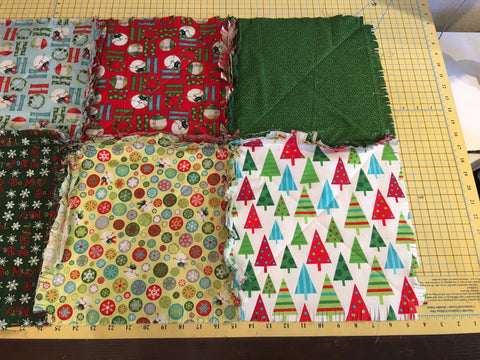
- Once all your rag quilt sandwiches are sewn together with the "X", start playing with the arrangement of the squares. You can graduate the quilt from light to dark, or you can have random colors throughout the quilt.

- Once you have your columns and rows laid out in a pattern you like, sew a row of rag quilt sandwiches together using an approximate 1 inch seam. Make sure your seam does not sew over the fringe; it should be on the inside part of the fringe.

- Once you have completed all of your rows, sew the rows together to form the quilt body.
- Finish your quilt, but sewing a 1 inch seam around all 4 edges. This will close and finish your outer quilt edges.

- Take your rag quilt kit outside and shake well. This will help remove the excess stray threads. Or use a lint roller to remove excess stray threads.
- Wash by itself. Wash in cool water on gentle cycle. I recommend using 2-3 Shout brand "Color Catchers". You can find them in the laundry section at Walmart or Target. They will help prevent any color bleed. (Life hack: I use these for all my new clothes that are bright red or blue to prevent them from bleeding onto other clothes). Dry on low heat. VERY IMPORTANT: check your dry lint catcher often, every 5-10 minutes.


Snuggle under your hand-crafted, fringed quilt!!!!
Jenny
Blue Sheep Boutique